
Unsubscribe list
Review unsubscribed addresses and associated schedules while respecting their opt-out status.
Platform checked: 2026-11-12 · Guide updated: 2026-11-13Steps have been checked against the live platform. Screenshots are cropped to protect account and customer data.
Before you start
- Use only contact data you are authorised to process for the intended communications.
Step-by-step instructions
- 01
Open the unsubscribe list
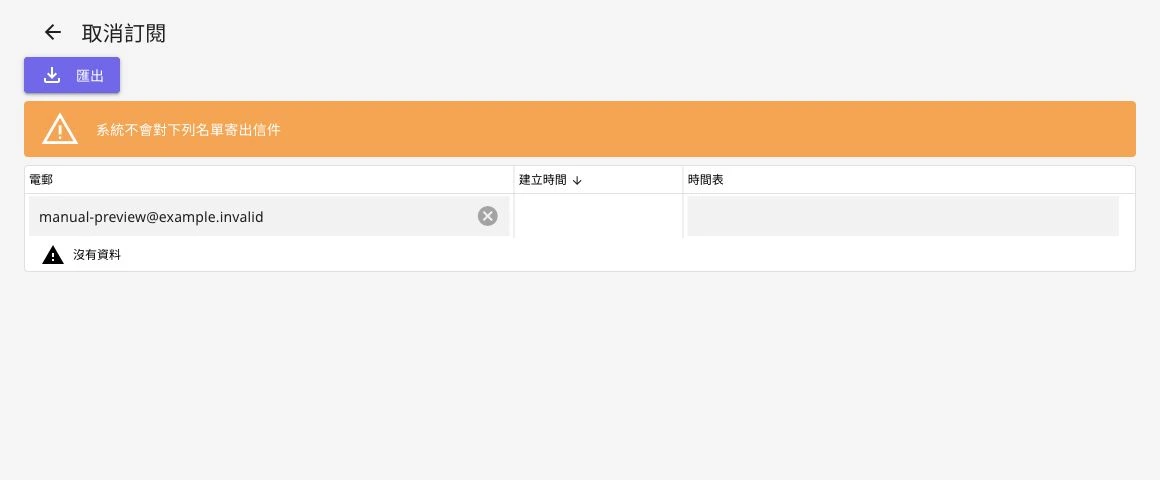
Select Unsubscribe directly under Contact Management. This is its current location, rather than the older Reports menu.
 Open full-size screenshot
Unsubscribe list and an empty filtered result - 02
Read the list
Columns include Email, Created Time and Schedule. The page states that the system will not send to these entries; unsubscribe status is not an ordinary contact grouping.
- 03
Find or export entries
Enter an email filter in the header and press Enter, or use the creation-time control. Select Export for internal review and protect the exported data.
- 04
Handle follow-up requests
When handling an enquiry, verify the address and opt-out record. Do not bypass suppression by recreating, reimporting or regrouping the contact. Ask support to investigate disputed status.
Notes and troubleshooting
- The screenshot filters by an illustrative non-existent address and exposes no real unsubscribers.
Need a little more help?
Tell us what you're experiencing.